PDF Printer Settings
Last updated September 8, 2022
By Ian Story
The following solution is excerpted from a post by Franklin Heath Ltd. Credit where it’s due:
https://franklinheath.co.uk/2015/08/29/custom-page-sizes-for-microsoft-print-to-pdf/
Standard Settings for Drafting
For printing plan sets, we use “Arch D” size paper (36″ wide x 24″ tall). In order to set up consistent printer settings in our template files, the goal is to have all workstation computers set up to print using the same PDF printer.
Our PDF printer of choice is Microsoft Print to PDF. Unfortunately, this printer does not allow custom paper sizes out of the box. Turning on “Arch D” as a paper option requires hacking a configuration file.
File Name & Location
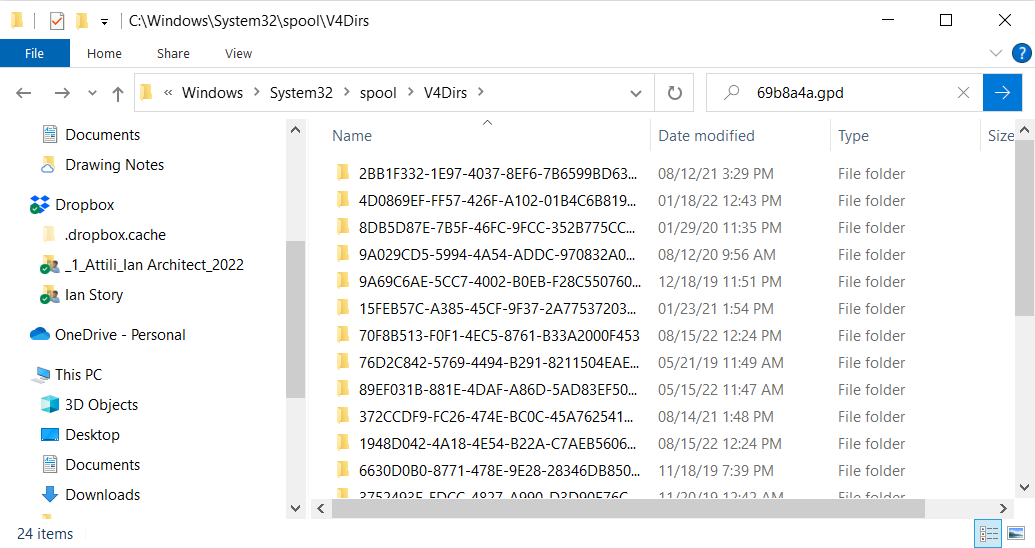
The file is found in the following directory:
C:\Windows\System32\spool\V4DirsThis directory contains several folders with alphanumeric names. Each folder corresponds to a different printer service, and there appears to be no consistent way to distinguish them between computers. You will need to do a search for the file name. On current versions of Windows 10, the file name is:
69b8a4a.gpdCode language: CSS (css)(if this file name doesn’t exist, it may have changed. You can find the current version by searching the directory. Open the computer’s registry editor and navigate to Computer\HKEY_LOCAL_MACHINE\SOFTWARE\Microsoft\Windows NT\CurrentVersion\Print\Printers\Microsoft Print to PDF\PrinterDriverData. The file name should be listed in the entry for “V4_Merged_ConfigFile_Name”)
Within the directory, do a search for this file name.
Editing the File
Before making any changes to the file, copy it and save a backup in a safe location.
Open the file with a text editor (Notepad) and search for the following text:
*DefaultOption: LETTEROn a new line just below this line, paste the following text:
*Option: CUSTOMSIZE
{
*rcNameID: =USER_DEFINED_SIZE_DISPLAY
*MinSize: PAIR(936000, 1332000)
*MaxSize: PAIR(109728000, 164592000)
*MaxPrintableWidth: 109728000
}
Save the file. Depending on your computer’s settings, you may not be allowed to overwrite the existing file with a Save As. In this case, save a copy to a temporary location on your computer, then copy paste the temporary file into the original directory. This will let you overwrite the original.
- Note: if the computer is throwing up an error for Administrator permissions- try opening NotePad from the Windows menu- right click on the app and select “Run as Administrator”- copy and paste the full text, then save in the correct file location.
Add the “Arch D” page size
The previous step does not actually add the new paper size – it just enables the option to create new paper sizes.
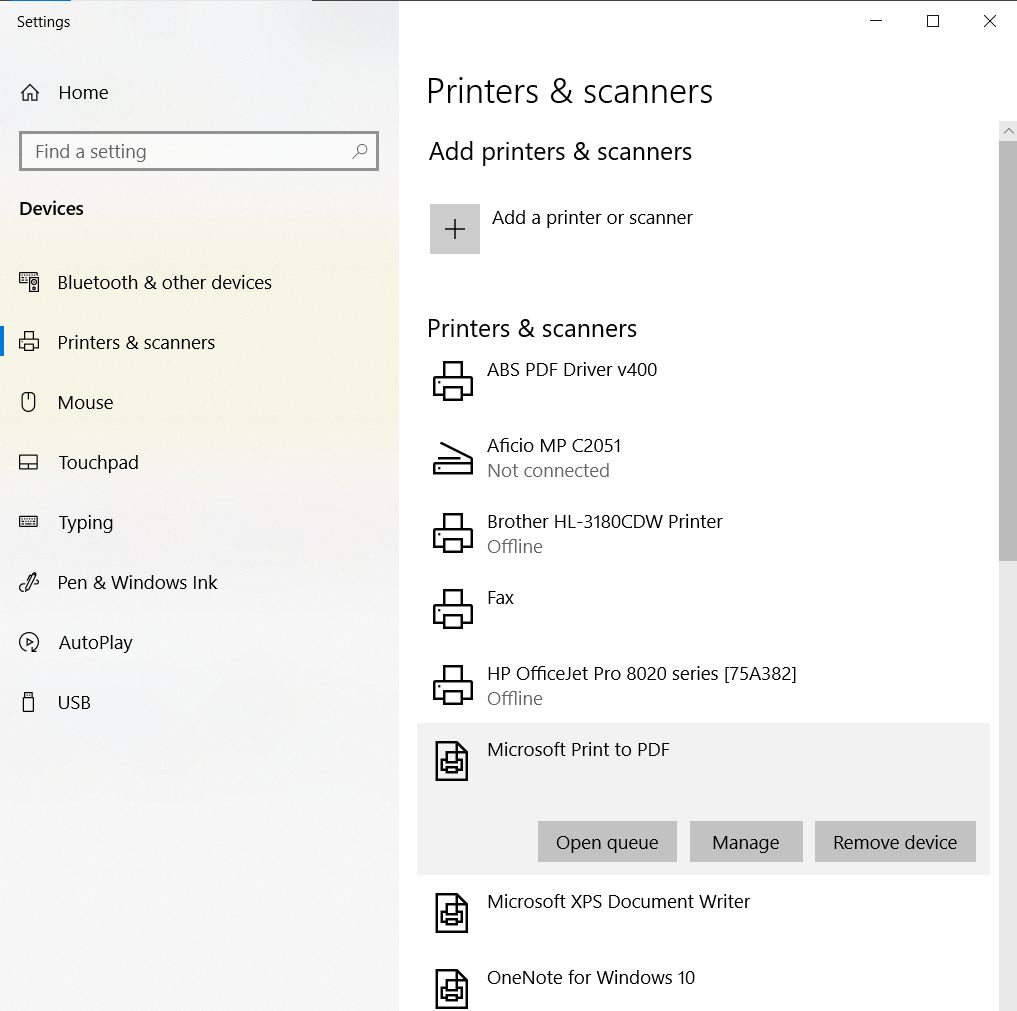
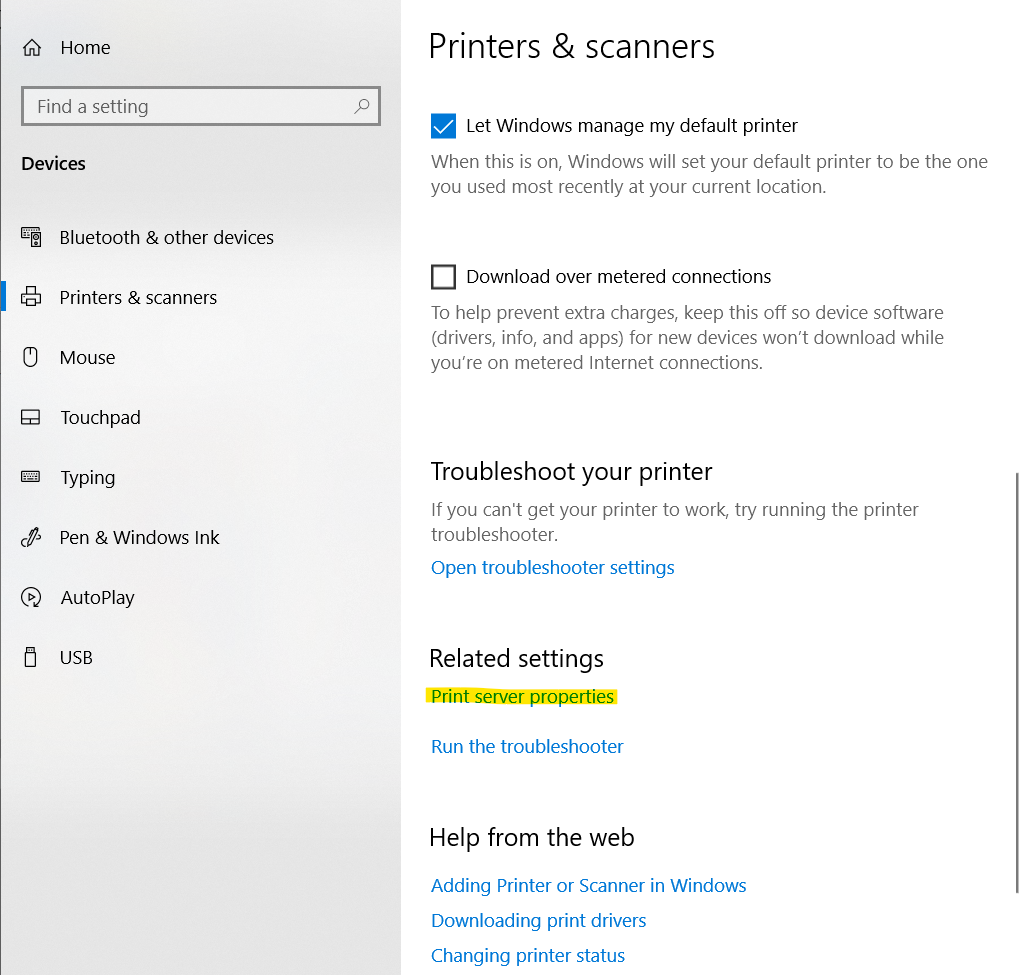
Open the “Printers & Scanners” system dialog. Select the “Microsoft Print to PDF” printer, then scroll down to find the link to “Print server properties”
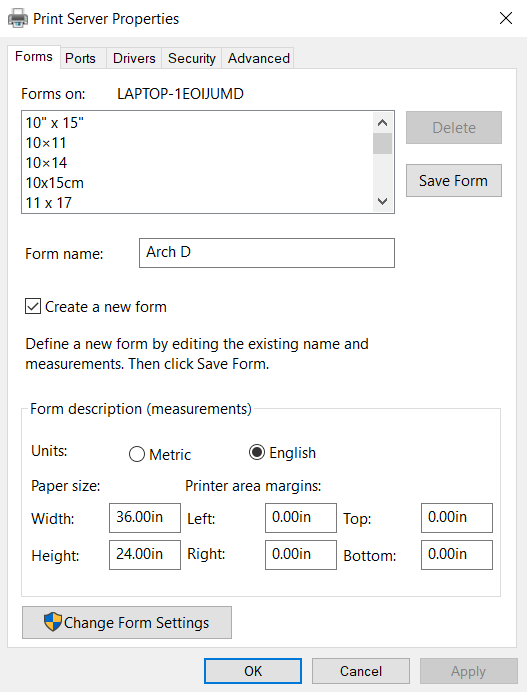
Fill out the dialog as follows. Remember to check the box for “Create a new form”. Press “Save Form” to add the paper size to the list.
- Note: if the Save Form button is grayed out, there may already be a form with the same name. You must type in a unique name ex. “Arch-D” if there is already a form “ARCH D” ( the form recognition is not case-sensitive)
Restart Computer to Finalize
After a restart, the new page size should be available in print settings, including Revit.
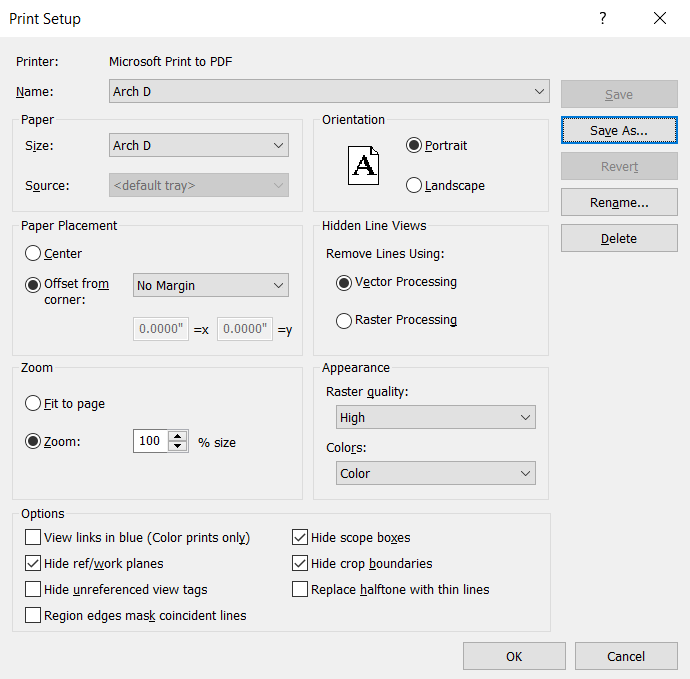
Save Revit Print Settings
The Revit printer settings should look as follows. Be sure to save these settings for easy access in the future: